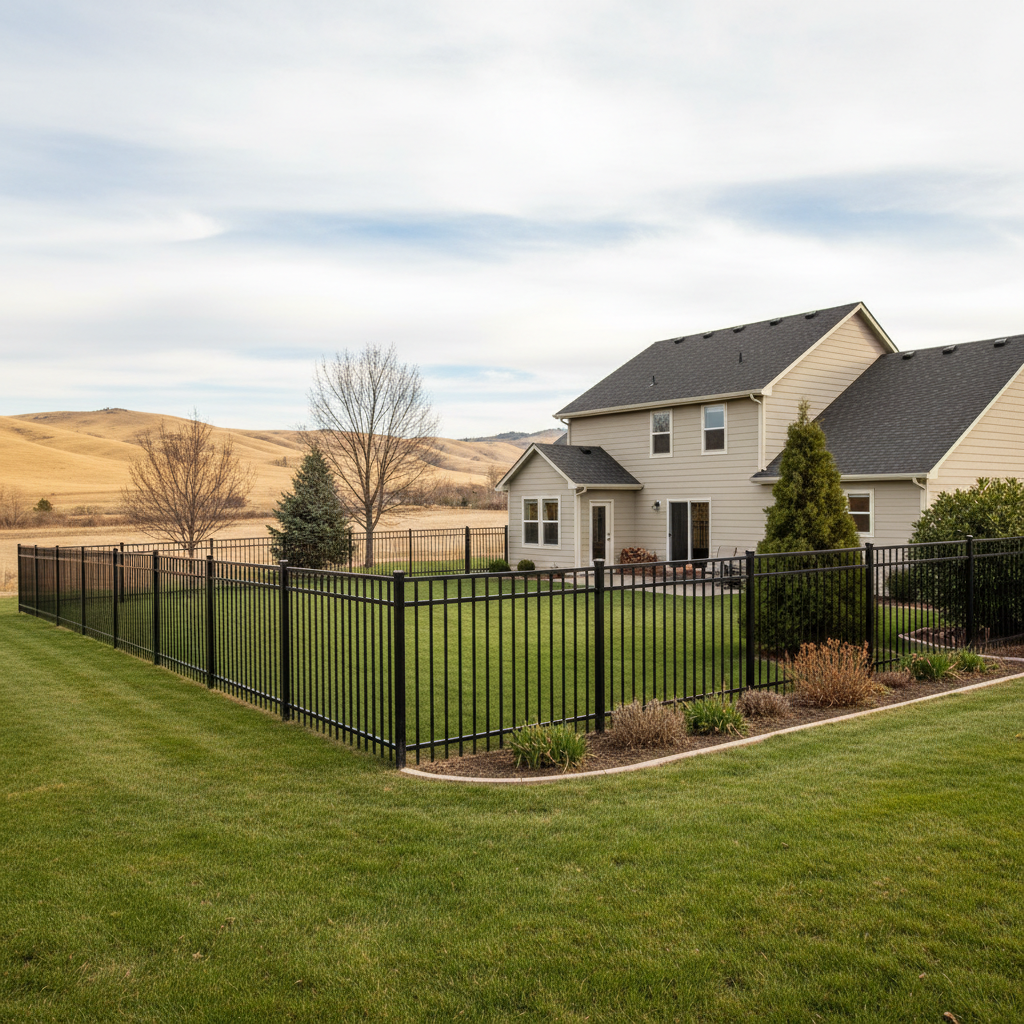
So, you're looking at an aluminum fence for your place here in Othello. Good choice. They're tough, they look sharp, and they don't need much fuss once they're up. But before you get to enjoying that new fence, there's a bit of planning involved. It's not just about picking a style; it's about getting the whole project done right, without headaches.
The Aluminum Fence Project Timeline: What to Expect
Let's talk timelines. Nobody wants to be surprised by how long something takes, right? From the moment you decide you want an aluminum fence to when it's fully installed, you're generally looking at a few weeks, sometimes a couple of months. Here's a breakdown:
- Initial Contact & Consultation (1-2 weeks): You reach out to a few local fence companies, like Othello Fence Solutions. We'll come out, measure your property, talk about your needs, and give you an estimate. This usually involves a site visit to make sure we understand the lay of your land, whether it's flat ground or that slightly sloped lot out towards the Columbia River.
- Permits (2-4 weeks, sometimes more): This is often the biggest variable. Depending on where you live in Othello and your specific project, you might need a permit from the city or county. Your contractor should help you figure this out, but the actual processing time is out of everyone's hands. Don't skip this step; it can cause real problems later.
- Material Ordering & Delivery (2-6 weeks): Once you've approved the estimate and any permits are in process, your contractor orders the materials. Aluminum fencing isn't usually sitting in a warehouse down the street; it's often custom-ordered based on your chosen style, color, and dimensions. Supply chain issues can sometimes stretch this out, so patience is key.
- Installation (3 days to 2 weeks): This is the fun part. Once everything's on site, the actual installation usually goes pretty quickly. For a typical residential property, it might be three days to a week. Larger or more complex jobs, especially if there's a lot of old fence to remove or tricky terrain, could take longer. Weather can also play a role; we don't install in heavy downpours or high winds if we can help it.
So, all in, you're probably looking at anywhere from 6 to 12 weeks from your first call to a finished fence. Plan ahead, especially if you have a specific event or deadline in mind.
How to Prepare Your Property for Installation
You can make the installation process smoother for everyone involved. A little prep work on your end goes a long way:
- Clear the Fence Line: Walk your property and clear out anything that's in the way. We're talking bushes, decorative rocks, old garden hoses, kids' toys, dog bones – you name it. The clearer the path, the faster we can work.
- Mark Sprinkler Heads & Underground Lines: This is crucial. If you have an irrigation system, know where your sprinkler heads and lines are. Same goes for any invisible dog fences, low-voltage landscape lighting, or other buried utilities that aren't marked by the official utility locate service. We'll call 811 before we dig, but they only mark major utilities. Your private lines are your responsibility to identify.
- Secure Pets & Children: During installation, there will be tools, materials, and people moving around. For everyone's safety, keep pets indoors or in a secure, separate area. Make sure kids know to stay clear of the work zone.
- Talk to Your Neighbors: If your new fence is going to be on or near a property line, it's always a good idea to chat with your neighbors beforehand. Let them know what's happening. It avoids misunderstandings and keeps things friendly.
What to Expect During the Installation Process
When the crew shows up, here's a general idea of what'll happen:
- Layout & Digging: We'll mark out the fence line precisely according to the plan. Then, we start digging post holes. This can be a bit noisy and messy, especially if we hit some of that hard Othello clay soil.
- Setting Posts: Posts go in, usually with concrete. This is where the fence gets its strength. We make sure they're plumb and properly spaced.
- Panel Installation: Once the posts are set and stable, we'll start attaching the aluminum fence panels. This is where you really start to see your fence take shape.
- Gate Installation: Gates are usually installed last, ensuring they swing freely and latch securely.
- Cleanup: A good contractor cleans up after themselves. We'll remove all our debris, leaving your yard tidy.
Questions to Ask Before You Sign That Contract
Before you commit to a contractor, you need to be asking the right questions. Don't be shy; this is your property and your money.